
 | 

|


| Main | | | Screenshots | | | Getting started | | | History |

 |
 |
 |
 |
 |
 |
| Lauching the program |
This window is composed of a menu and a row of icons, which have the following meaning (from left to right)
 Create a new routine
 Load an existing routine
 Save the current routine
 Show/Hide the library window
 Show/Hide the routine editor window
 Show/Hide the stage window
 Show/Hide the movie window
 Edit the properties of the routine
| Creating a workspace |
This will unlock the toggle buttons for showing the routine editor and the stage windows. Just click on them to display the windows.
You will see two new windows :
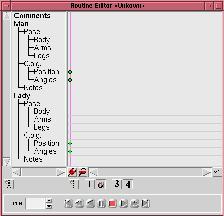
The routine editor.
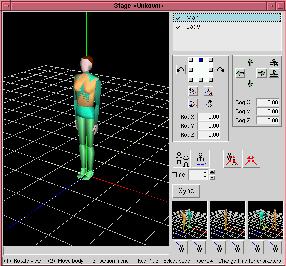
The stage.
| Basic concepts |
- When there is a status bar in a window, it will display what you can do with the buttons of the mouse and with some keys.
- Special actions on one item can be accessed by the use of the right mouse button. It will display a popup menu with the available actions for the item under the mouse.
For example, the stage window displays the following information when you are in the 3D view :
<1> Rotate view <2> Move body <3> Action menu
<Key-1..9> Select body <Arrow> Change time for characters
For example, the <1> means you can change the point of view using the left button (press it, change the view, then release it).
You can perform some other change of the view point if you press Control, Shift or Alt : just read the status bar which will show you what will be affected when holding down one of thoses keys.
| Orientating the body |
Now turn it on the right by clicking of the button on the right of the widget displaying the orientation. The character should turn 1/8 of turn to the right.
| Changing the pose |
- Open the library window.
- Choose the Waltz item in the leftmost list.
- Choose the Position tab in the notebook.
- Set the mouse on the image called Closed position (Lady) (the name appears below the image).
- Set this position for the Lady (orange character). To do this, execute the following steps :
- Hold left mouse button and drag the image upon the Lady (orange) in the Stage windows.
- The Lady will be highlighted in yellow.
- Release the button.
- The Lady will be set to its new position.
- Register your modification by clicking on the Sync button.
Here you are !
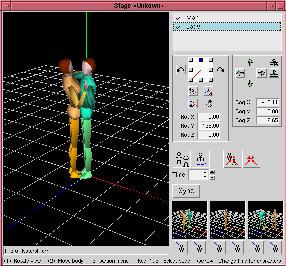
Your stage window should look like this : 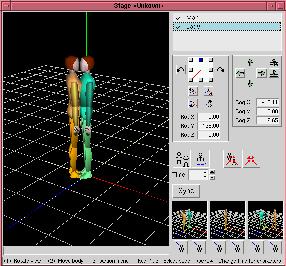
The characters are now well positioned, and you can have them execute a figure.
| Adding a figure |
This window looks like this : 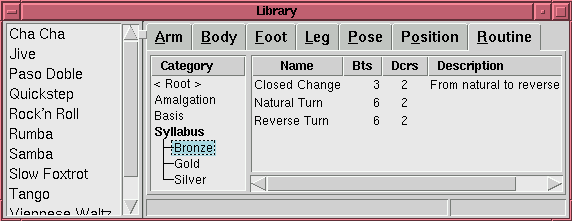
Select the figure called Natural Turn. Press the mouse button and keep it pressed to drag the figure on the Routine Editor window. Simply click on the OK button when a dialog window will pop up.
This will insert the figure in the edited routine and the Routine Editor window will reflect this change by displaying orange boxes representing the figure (just move the mouse over the figure and stay still a moment : a popup will show you the name of the figure).
Just click on the icon marked x1 (bottom right) to scale the view, and then the
Routine Editor window will look like this :
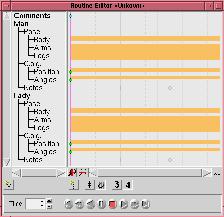
The poses of the characters have changed to respect the pose of the inserted figure.
The Stage window should look like this :
| Changing the time |
 using the arrows (left, right, down=start, up=end, use Shift to go slower)
 pressing the space bar to toggle the animation.
You have now done your first move. Congratulations !
| Defining movies |
To do this, you will need to use the Movie window :
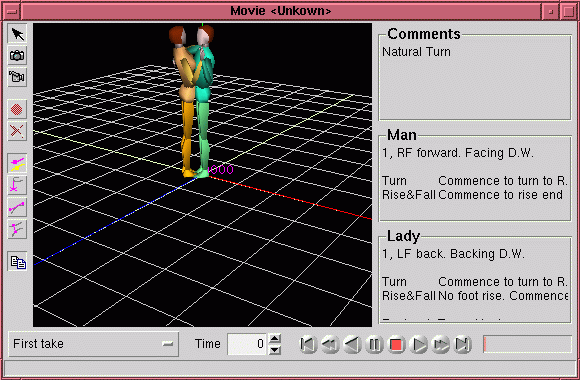
To define a new movie, use the button on the bottom left which will show a popup menu with a New movie ... option. Give a name (I choose First take).
- this window will show you the comments associated with the routine
- the character in a 3D view, representing
- an abstract global view if the arrow if selected
- a view from the eye of the spectator, if the camera is selected, where you can change the view and record / delete viewpoints.
- a locked view if the cine-camera is selected and used to play the movies.


Copyright © 2000 Laurent Riesterer.
Last modified on Aug 14, 2000.
